Sunday, August 28, 2011

Mountain Dew Apple Dumplings

This is one of those desserts that I have made several times and no matter how many times I make them, I can't get over how freakin' delicious they are.

This is yet another recipe from The Pioneer Woman, and by making these, you are taking a terrible risk of eating an entire pan of butter, sugar, and Mountain Dew encrusted doughy apple treats. It's a risk, but man, it's worth it.

This week was the birthday of my friend and fellow DnD group member, Doty. I asked him what type of dessert he would like me to make our game this week and some of his answers included southern coconut cake, home-made apple pie, and canolis. Then he mentioned these apple dumplings. I've made them before and they are like crack. Well, having never been on crack, I can't say that's entirely true, but they are what I imagine taking crack to be like...? I've wandered onto a strange tangent.

Anyway, off we go to the land of apple dumpling baking!

Here are your ingredients. They are nice and simple.


The original recipe calls for granny smith apples, which I did have two of, but I wanted to be adventurous and try another type of apple, too. That was one called Envy. I would suggest you use 2 granny smith apples though.

Next, you will need to peel the apples and cut them into 8 slices each. So you will end up with 16 apple slices and 16 triangles of crescent rolls. Yay, math!

I'll have you know I am on quite a streak of not cutting myself while I peel things. For a while, I always cut myself using a peeler, but two more apples, no cut fingers!


Take one of your two sticks of butter and use it to butter a 9 x 13 pan. Just make sure the sides and bottom are covered so your delicious apple dumplings don't get stuck to the bottom. You don't have to go crazy with it, remember, there are going to be two whole sticks of butter in with these dumplings. It's statements like that that make the think Paula Deen would be proud of me.


Next, you will need to unroll each of your crescent rolls and their little individual triangles. I used the store brand, reduced fat ones because I figured there was enough fat in these already. Anyway, I had a very difficult time getting the rolls of dough open. Normally, They pop open on their own and scare the bejeezus out of me. I had to smack them on the counter several times and then eventually whine to Jason to get him to get the can open for me. Go with the name brand, they are less frustrating.


Then take each of your apple slices and roll them up in a dough triangle.

Take each little rolled up dumpling and line them up in the pan.

 
After you do all that, put your two sticks of butter in a saucepan to melt them, and then add in the 1 1/2 cups of sugar and stir it together.

 
Then stir in your yummy teaspoon of vanilla
 
Once you have all that stirred together, pour it over your awaiting dumplings. Try to get the sugar evenly over each of them so they will all end up nice and crispy caramelized on top after baking. You will then take your can of Mountain Dew and pour it all around the edges of the pan. Your dumplings will be nice and bubbly and buttery and sugary. Oh, yum. I might have to go heat one up just thinking about it.

The next part is my favorite. Add. Cinnamon. To. Taste.

I love cinnamon. It is my favorite, telling me to add it to taste is really like saying you should probably go ahead and dump the whole container on there. I did manage some restraint though. 


Mmmm...

Put them in the oven at 350 for about 40 minutes or until they are delicious and golden brown. Here is what mine looked like right before I pulled them out of the oven.


I let them hang out for a bit and cool down because otherwise you mouth will be burned forever and I am a firm believer in not doing that. I feel like it's a bad choice.


Once they are cooled enough (I'd say maybe 5-10 minutes), scoop some onto a plate and sprinkle with powdered sugar. If you have vanilla ice cream that would also be amazing with this, but I didn't have any unfortunately. But these were UH-MAY-ZING. Make them at your own risk!


Enjoy!

Mountain Dew Apple Dumplings
adapted from The Pioneer Woman
Ingredients
  • 2 granny smith apples, peeled
  • 2 cans crescent rolls (8 oz.)
  • 2 sticks salted butter
  • 1 1/2 cups sugar
  • 1 teaspoon vanilla
  • Cinnamon, to taste
  • 1 12 oz. can Mountain Dew
Instructions
 
Peel and cut each apple into 8 slices. Roll each slice in a triangle of crescent roll dough. Butter a 9 x 13 pan and put each dumpling in it.

In a medium saucepan, melt the butter and add the sugar and stir. Add the vanilla, stir, and pour entire mixture over apples, trying to evenly coat each dumpling with sugar.Pour the can of Mountain Dew around the edges of the pan and then bake them in the oven at 350 for about 40 minutes. Once they have cooled, you can sprinkle with powered sugar or serve with vanilla ice cream. Or just eat them by themselves, they are delicious!

Thanks for reading!

<3, Carly
Best Blogger Tips

Blogger Tips - Get This Gadget

Sunday, August 21, 2011

Nectarine-Plum Crostata

Hello again!

I don't know about anyone else but I am absolutely in this huge fantasy that it is already fall. Everywhere I go I look at every tree to see leaves changing. I think my friends are tired of me randomly shouting, "look! That one tree there has one leave that is slightly yellow on the top branch that you can barely see!"

I have been crockpot crazy and wanting to making everything with apples in it for a couple weeks now, but I was afraid to make yet another apple dessert for my Dungeons and Dragons group this week (I am going to go ahead and call it DnD from now on, the whole name is a lot to type!). I don't want to burn myself out on apples too early, there are still many apple months left.

That takes me to the fact that I instead flipped through all my fall baking magazines and found a recipe for Nectarine-Plum Crostata. I thought it sounded tasty and something that I have never tried to make before, so here's how it went!

Here are your ingredients! (minus the bananas... they just made their way into the background)


In a medium bowl, add 1 1/2 cups flour, 1 teaspoon sugar, and 1/4 teaspoon of salt and stir.


Then you are going to take your butter and cut it into the flour-y mixture and that needs to be mixed in. You can use two knives to cut the butter in, you can use your hands (make sure you watch them ;)) OR if you are me and you just got a fancy new pastry cutter for the first time ever, you can use that!


I got the cheap one (hey, I'm not made of money here) but it worked pretty well and took much less time. If you have the means, I highly recommend picking one up. (anyone get the quote...?) Your flour butter stuff should now look kinda like this:


Perhaps using a white bowl was not a great decision. I'll try harder next time, I promise.

Next you are going to need to put 1 (ONE) egg YOLK in. You can throw away the other part, or if you want to save your egg white for another day you can do that, but I don't really know what you would do with just the one egg white. Anyway, I digress. It took me three tries to break the egg that didn't also break the yolk.


  I finally did it! Yay, me!


So you will want to mix this yolk into your flour stuff with a fork.


Then start sprinkling in your tablespoons of water. The recipe called for 4-5 tablespoons, I used about 4.5.This is me, playing with the water in the measuring spoon. Sometimes I get distracted.

I finally directed the water into the bowl.


Mix, mix, mix, mix, fun, fun, fun, fun. Oh Rebecca Black, get outta here.


Then you need to kind of knead it a little bit until it's a ball of dough.


Then you need to wrap it in plastic wrap. I also finally bought un-crappy plastic wrap. For some reason at some point, I thought to myself, "hey, Carly, you should get this cheap plastic wrap at the dollar store. It's a dollar!" Don't do it. Don't do it to yourself! It will cause you minutes of heartache. Minutes!


Stick that little guy in the fridge for 30 minutes. I put mine in for longer because I went to dinner before I made the rest, I would suggest going just the 30 minutes because it was harder to roll out later because it was so cold.

Meanwhile. back at the ranch on the other counter, I was getting the fruits all ready.

Look, plums sink and nectatrines float. Science in action! Wash them up because you are going to leave the skin on.

Get them all sliced.
Hey, I told you about my cutting disabilities, don't judge. 
Here is a bowl filled with delicious sliced fruits!
 In another small bowl, mix together 1/2 cup sugar, 3 tablespoons flour, and 1/4 teaspoon cinnamon.
Oh, cinnamon. My favorite spice. I want to put you on everything (although I think it could make some gross combinations.)

Look at it mixed in there with all that sugar and flour and junk. Mmmmm...cinnamon.


After I broke my cinnamon trance, I rolled out the dough from the refrigerator. Another kitchen implement I do not have is a rolling pin. So I used a glass. I think one of my goals today is to get a rolling pin.


This should be rolled out to about 13 inches or so. I think mine was about that size, but I didn't have a measuring tape near me, or a fancy rolling mat. So I just went with it.


I went ahead and mixed in the sugary, cinnamony, floury mixture with the fruit, sprinkled it with the lemon juice, and then piled them in the center of the dough. 
I tried to leave about 3 inches of border so I could pleat it around the size. 

Dot the fruit with pieces of 2 tablespoons of butter, then fold up the edges of the pastry over the fruit trying your darndest to make pleats. I then used my fancy silicone brush to brush some water on the edges and covered it with my new fancy orange and yellow sanding sugar before putting it in the oven.Bake at 425 for 30-40 minutes until crust is golden brown and the fruit is soft.

Here it is, post oven!

If I was Martha Stewart, someone would be scraping off that sugary stuff off the side of the pan so my crostata looked fancier, but I don't have fancy Martha Stewart sidekicks, I have geeky boys plays DnD in the next room who just want to eat baked good. So, you know, meh. 


There she is! I really liked it. The nectarines were sweet, the plums were tangy, and the dough was buttery and kind of flaky. Also, the juice from the fruits made the dough nice and soft. I very much enjoyed it! You should make these and eat it!

Nectarine-Plum Crostata
adapted from Betty Crocker

Ingredients

Crust


  • 1 1/2 C all purpose flour
  • 1 tsp. sugar
  • 1/4 tsp salt
  • 1/2 C. cold butter, cut into pieces
  • 1 egg yolk
  • 4-5 tablespoons cold water
Filling
  • 1/2 C. sugar
  • 3 tbsp flour
  • 1/4 tsp. ground cinnamon
  • 3 C. sliced nectarines 
  • 2 C. sliced plums
  • 1 tbsp lemon juice
  • 2 tbsp butter, softened
  • 1 tbsp sugar

As usual, thanks for reading!

<3, Carly


Best Blogger Tips

Blogger Tips - Get This Gadget

Rockingham County Fair

It's been a busy week!

On Wednesday, I went to our local county fair with my friend Lindsey.


We ate lots of junk food, and I had a fried twinkie! I was going to take a picture, but we split it and it was far too good to wait any longer to eat it. Sorry. :(


We saw farm animals, which I had never seen so up close before. This is me, petting a sheep!


Fake Elvis serenaded me and gave me a patriotic lei.Get your mind out of the gutter. It was made of plastic flowers!


We tried on delightful cowboy hats that I really don't think I would wear even if someone bought one for me.

Thursday was super crazy still and my boyfriend, Jason, picked us up some delicious subs from the pizza place down the street (they made sandwiches on pizza dough! Soooo good! Then on Friday, we went out to IHOP. THEY. HAVE. FUNNEL. CAKE. BREAKFASTS. Go there. Eat one. I promise the calories are all just in your imagination. It's worth it. Anytime you mix funnel cakes, apple pie filling, and bacon together, it's just a good time.

Today I did a bunch of cooking for my Dungeons and Dragon's group, so don't worry, I have more things to post! It's just kind of past my normal bed time now, so I figured I could just tease you with the thought of delicious foods...I made Caramelized Onion Dip and Nectarine/Plum Crostata tonight! More info to follow!


Best Blogger Tips

Blogger Tips - Get This Gadget

Tuesday, August 16, 2011

White Chicken Enchiladas

Well, here I am in my first real, live, blog post. It's weird. Where do I start? What do I say? Will anyone read this? Well, probably not, but I suppose we'll see.


Tonight after a crazy day at work, I ventured home to decide what I could scavenge for dinner. I knew my boyfriend, Jason, would not be home for dinner, so I made a quick trip to the store to get some ingredients to make The Pioneer Woman's White Chicken Enchiladas!


Here are your ingredients! (Minus of course, the butter, paprika, salt, pepper, oil, and cheddar cheese, you know, just a couple things I missed)

First step for me was to take the rotisserie chicken that I bought in lieu of cooking raw chicken. I'm lazy, what can I say? I just shredded the chicken with two forks in a bowl.

I may have eaten 1 or 2 bites of chicken. Or 5. Sometimes things happen that you can't control and eating warm, fresh rotisserie chicken is one of those things.


Next, go ahead and chop up an onion. I am mildly chopping/dicing/using a knife impaired, but I did my best.


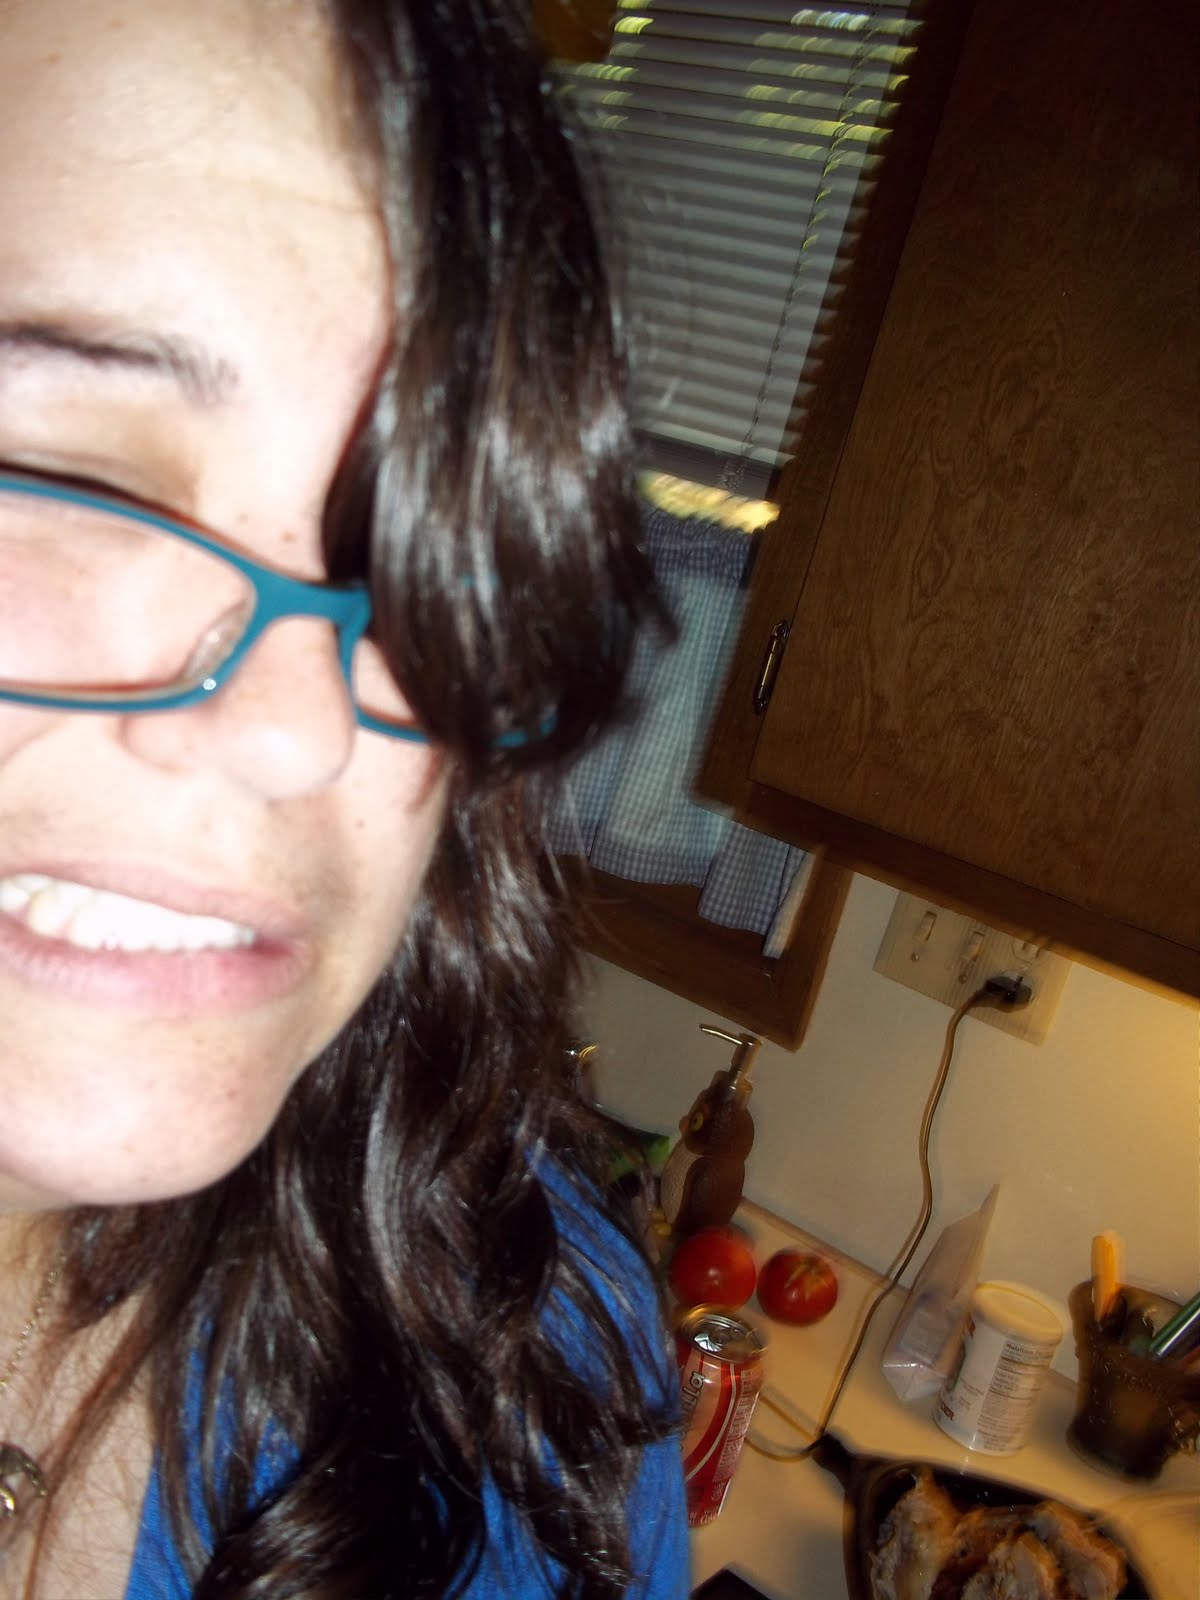
There is a good chance that my eyes got super burn-y from the onion juice/fumes. There are some tricks to making that not happen, I just don't really know what they are. Here is me and my burn-y eye face. It was captured by accident and made me giggle. Please ignore the copious amounts of crap on the counter behind me. I am a messy cooker.

Next, it's time to get out those tortillas and start frying them up in some vegetable oil. You just want to fry them to get them soft, not deliciously fried and crunchy. Those are tortillas for another day, my friend.

Get the 2 tbsp oil nice and hot before you drop in your first tortilla

After a few seconds, flip it. If it starts getting all puffy or brown or crunchy that is a sign you should get that fella out of the pan, stat.


Don't think that you can leave it in there while you run around like crazy and try to find some tongs to get the tortilla out of the pan. Don't also try to find where you left the camera after taking your last picture. Otherwise, your fire alarm might start going off and you have to turn on the fan and find a chair to take down the fire alarm. And then throw a poor helpless tortilla in the sink because it was burning. Not that I know these things from experience or anything.


Take the tortillas out of the pan and then put them on a stack of paper towels to drain the oil from them.

Good ol' Pdub gets fancy with chopping up some fresh jalapeno and slicing her own green chilies. I was too tired to get into those shenanigans. I popped open a couple cans of those babies pre-chopped and was ready to get to the next step.

Add about 1 teaspoon of diced jalapenos and the chopped onion in a large skillet with about 1 tablespoon of vegetable oil. Let it cook for about 1 minute before adding in the chicken, half of the green chilies, and 1/2 tsp of paprika. Stir it all together.

Add 1/2 cup of chicken broth and stir, then add the 1/2 cup heavy cream and stir. Let it get all delightful and bubbly and then remove it from heat.


In another medium skillet, melt your 2 tablespoons of butter and then sprinkle in the 2 tablespoons of flour all while whisking your little heart out for about 1 minute. Pour in 1 1/2 cups of chicken broth, whisk, and let it simmer for another 1-2 minutes.


Stir in the other half of the chilies, then add in the creamy goodness of 1 cup of sour cream.


Perhaps something might happen beyond your control and you fling the spatula that you used to get the sour cream out of the measuring cup all over your favorite shirt and pants, and then finally ends it's descent to the floor.


Merlin was pretty excited.
Anyway, do some more whisking to combine all of your sauce ingredients.


It will get all fancy and bubbly and you will be so excited to add in your cheese! Mmmm...I love cheese. I added about 1 1/2 cups if Mexican blend cheese (without the seasonings, I can't get down with that). Then add in another 1/2 teaspoon of paprika.


Take your nice, soft, tortillas and fill them up with your delicious chicken filling and then top with your favorite cheese (I used sharp cheddar)! Roll them up and lay them in a 9x13 pan.


Cover your tasty enchiladas with your fancy, cheesy, creamy, gooey, green chilie-y sauce.


Then layer more shredded cheese! I used the remaining 1/2 cup of Mexican cheese from the sauce on top and a little sprinkle of cheddar, just to add some more flavor.
Stick those babies in the oven at 350 degrees for about 30 minutes or until bubbly and golden on top.


Look at that golden cheese. Perfect.

Plate'r up and drizzle from salsa on top. You can also add some chopped cilantro on top of that's what your floats your boat, but I am not a big fan of that stuff. Small doses, maybe. But I wasn't feeling it today.


This, ladies, gentlemen, and everything in between, is what you should be having for dinner. Or lunch leftovers. Just make it happen. It's good stuff!

White Chicken Enchiladas
adapted from The Pioneer Woman Cooks

Ingredients:
  • 2 1/2 c. shredded, cooked chicken
  • 2 c. chicken broth
  • 3 tbsp vegetable oil
  • 12 whole flour tortillas (fajita size)
  • 1 large white onion, diced
  • 1 7oz. can of diced green chilies
  • 1 4 oz. can of diced jalapenos
  • 1 tsp paprika
  • 1/2 c. heavy cream
  • 2 tbsp butter
  • 2 tbsp flour
  • 1 c. sour cream
  • 2 cups Mexican blend cheese, shredded
  • salt and pepper, to taste
  • Salsa (optional)
  • Cilantro (optional)

Instructions:

1. Shred a rotisserie chicken with two forks in a large bowl until you have approximately 2 1/2 cups of chicken.
2. Dice up one large onion.
3. In a medium skillet, heat 2 tablespoons of vegetable oil (or whatever your favorite oil is) and fry each tortilla until it is soft (about 20 seconds or less). Do not let these get crunchy! Pile on a clean kitchen towel or a stack of paper towels to drain some of the oil.
4. In a large skillet, heat 1 tablespoon of vegetable oil and add about 1 teaspoon of diced jalapenos and the diced onion. Cook for about 1 minute.
5. Add in about half the can of green chilies, the chicken, and 1/2 teaspoon of paprika and stir to combine.
6. Add in 1/2 cup of chicken broth and stir, then add 1/2 cup of heavy cream and stir. Continue to cook until mix gets warm and bubbly, then turn off the heat.
7. In another medium skillet, melt the butter and add in 2 tablespoons of flour. Whisk together and allow to cook for about a minute (be careful, it might get clumpy and it's really easy to burn!). Add in 2 cups of chicken broth and continue to whisk. Let mixture simmer for 1-2 minutes, continuing to whisk.
8. Turn down the heat and add in the rest of the green chilies and another 1/2 -1 teaspoon diced jalapeno (depends on how spicy you like your enchiladas!:-) ). Add in the sour cream and whisk everything together.
9. Add in 2 cups of cheese to the sauce and whisk to combine. Add in another 1/2 teaspoon of paprika. Taste your sauce and add as much salt and pepper as you desire.
10. Take a tortilla and fill with the chicken mixture (don't overfill!) and top with some cheese (I used cheddar). Add each enchilada to the 9x13 pan.
11. Cover your enchiladas with the cheese sauce. If you like (which I did) you can use a little more cheese on top to give it some extra cheesy goodness.
12. Bake at 350 degrees for about 30 minutes until golden and bubbly. Try to let it sit for a few minutes before you serve so you don't burn your mouth. But if you can't wait, it's okay, I don't blame you. I couldn't either! You can sprinkle on some cilantro if that is the type of thing you like and/or spoon on a little salsa. Enjoy!


Thanks for reading my first post, hope you check back soon!

<3,
Carly
Best Blogger Tips

Blogger Tips - Get This Gadget